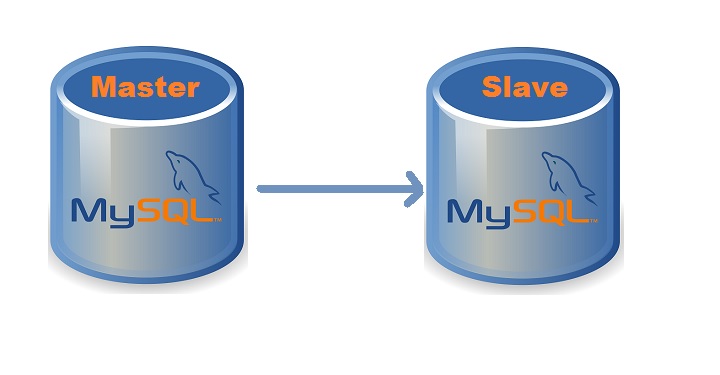
This master-slave replication is tested on Ubuntu 18.04 with MySQL 8.0 and above. Let’s consider that server is up already with ip address 10.0.0.2 and MySQL 8.0 or above version is installed.
Step 1: edit /etc/mysql/my.cnf on master with the following parameters, if you are not running MySQL inside docker please add also bind-address = 10.0.02 to the configuration below to publish MySQL service and make it reachable via nework for the slave server.
server_id= 1                    #Specify a unique server ID for each replication server, range from 1 to 2 to power 32
gtid_mode = on                  #Enable GTID-based replication
enforce_gtid_consistency = on   #Ensure that only statements which are safe for GTID-based replication are logged
log_bin                         #From MySQL 8.0, binary logging is enabled by default, with binary logging enabled, the server logs all statements that change data to the binary log, which is used for backup and replication
log_slave_updates               #enables replication servers to be chained. For example A -> B -> C
Step 2: Backup MySQL on Master
If you are running a MySQL in production, before you make a backup(dump) of the existing database, you must LOCK the tables to make them READ ONLY and afterwards use mysqldump command to dump everything, including triggers routines and events.
FLUSH TABLES WITH READ LOCK;
SET GLOBAL read_only = ON;
mysqldump --all-databases --single-transaction --triggers --routines --events --user=root --password=yourrootpassword > /var/log/mysql/full-backup.sql
Step 3: Create replication user with permissions on master
CREATE USER 'repl'@'%' IDENTIFIED BY 'yourpassword' REQUIRE SSL;
GRANT REPLICATION SLAVE ON *.* TO 'repl'@'%';
FLUSH PRIVILEGES;
Step 4: Remove Read Lock on master and restore it’s normal operation
SET GLOBAL read_only = OFF;
UNLOCK TABLES;
Step 5: edit /etc/mysql/my.cnf on slave with the following parameters
server_id= 2                        #Specify a unique server ID for each replication server, range from 1 to 2 to power 32
gtid_mode = on                      #Enable GTID-based replication
enforce_gtid_consistency = on       #Ensure that only statements which are safe for GTID-based replication are logged
log_bin                             #From MySQL 8.0, binary logging is enabled by default, with binary logging enabled, the server logs all statements that change data to the binary log, which is used for backup and replication
log_slave_updates                   #enables replication servers to be chained. For example A -> B -> C
skip_slave_start
Step 6: Copy full-backup.sql on slave, then dump and configure slave with the commands below
mysql -u root -pyourrootpassword < /home/ubuntu/full-backup.sql
CHANGE MASTER TO MASTER_HOST='10.0.0.2',MASTER_PORT=3306,MASTER_USER='repl',MASTER_PASSWORD='yourpassword',MASTER_AUTO_POSITION=1,MASTER_SSL=1;
START SLAVE;
SHOW SLAVE STATUS;


